In this blog, we’ll walk you through removing a ceiling fan without damaging it or yourself! With straightforward instructions and a few basic tools, you can be on your way to successfully remove a ceremony time!
To remove a ceiling fan successfully, you’ll need a few tools and materials, including:
● Electric drill
● Screwdriver
● Wire cutters
● Pliers
● Safety glasses
● Gloves
● Ladder
Step-by-Step Instructions On How To Remove Ceiling Fans
Follow these step-by-step instructions, and you’ll be able to get the job done quickly, safely, and with minimal effort!
1. Turn Off The Electricity
Ensure you turn off the power from your breaker box to avoid any potential electrical shocks.
2. Unscrew Mounting Bracket
If necessary, unscrew any mounting brackets or screws securing the fan in place so it can be taken down.
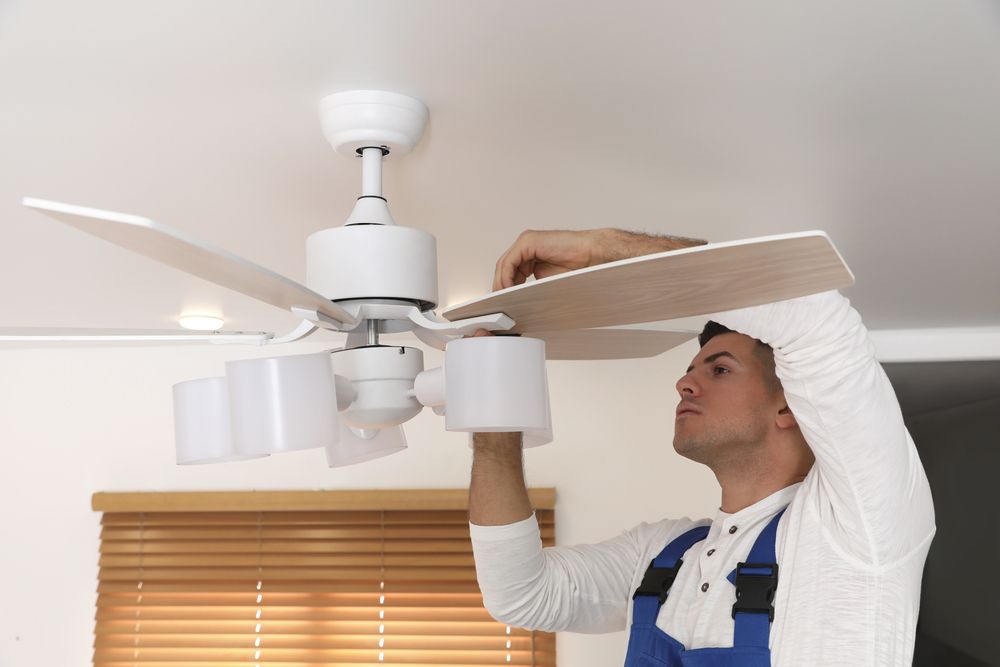
3. Take Down Any Decorative Fixtures Or Hardware
If your fan has any light fixtures or other decorative hardware attached, carefully take these down before attempting to remove the entire unit.
4. Remove The Blade Arms And Blades From The Motor Unit
Gently loosen and unscrew each blade arm to be removed from the motor unit. Also, make sure to news or components holding the fan blades in place.
5. Disconnect Wiring And Switches
Disconnect all wires and buttons associated with your old ceiling fan before removing it, so there’s no risk of electric shock during removal. This is also a good time to decide if you want to add a 3-way switch to control your fan from two places.
6. Remove The Fan Motor Unit From The Base Plate And Remove It From The Ceiling Joists
Once all of this is done, you can then begin to carefully lift the fan motor unit from its base plate while also taking care not to damage any of your surrounding walls or ceilings while doing so. Then, gently slide it out of its ceiling joists until completely removed from its original installation spot!
7. Double Check For Anything That Needs To Be Disconnected, Removed, Or Replaced Before Finishing Up
Before completing your ceiling fan removal process, double-check for any remaining pieces (such as screws, fan wires or an electrical box) that need to be disconnected or replaced; this will help ensure everything is successfully taken down without any further issues arising in future installations!
Safety Tips For Avoiding Any Accidents
Removing a ceiling fan is not always easy; it requires caution and preparation for it to go smoothly without causing any harm whatsoever to your property, let alone yourself!
Here are some safety tips for avoiding accidents:
● Wear protective gear such as gloves and eyewear when handling tools such as electric screwdrivers during installation or removal.
● Don’t forget safety basics, such as turning off power sources before beginning work. When dealing with any type of light fixture or outlet, it’s important to know the basic types of electrical wiring, particularly “hot” wires.
● Read through each step of an instruction manual thoroughly before attempting a DIY project like this one!
Important Reminders
Removing a ceiling fan, whether it’s a flush mounted ceiling fan, a downrod ceiling fan, or a new ceiling fan you’re planning to replace, requires careful attention to detail and safety. Many ceiling fans are secured by screws holding them in place and connected through wire nuts to the ceiling wires.
Before attempting to remove any fan, turn off the power at the circuit breaker to ensure safety. Use a voltage tester to confirm there’s no electricity running to the fan. If your fan includes a light kit, carefully disconnect it before unscrewing the fan from its mount.
Whether you’re replacing an old fan with a new fan or simply removing a ceiling fan for maintenance, understanding the specific type of fan you’re working with is crucial for a safe and efficient removal process.
Conclusion
Though removing ceiling fans may seem intimidating at first glance, following these step-by-step instructions on how to take down a ceiling fan is simple – especially when combined with safety tips that prevent accidents or damage along the way!
With just a few basic tools and knowledge on how to properly install or remove ceiling fan, anyone can accomplish this task efficiently; all it takes is some preparation beforehand, along with making sure all steps are followed correctly every single time – plus being extra careful throughout each stage – for maximum effectiveness and results!